Learn how you can get the interesting tones you’ve been looking for in your photos with Adobe Lightroom’s Calibration Tab.
In the competitive world of photography, everyone is looking for a new way to stand out. It’s tough, especially when it seems like new styles are coming out every day. For a unique look, you can add cool graphics or filters — or try out new concepts in your photo shoots. But really, other than captivating visuals, color tone is the best way to capture a viewer’s eye. Taking advantage of the Color Calibration tab opens up the interesting tones you’ve been looking for in your photographs, and it’s another tool you can carry around in your back pocket.
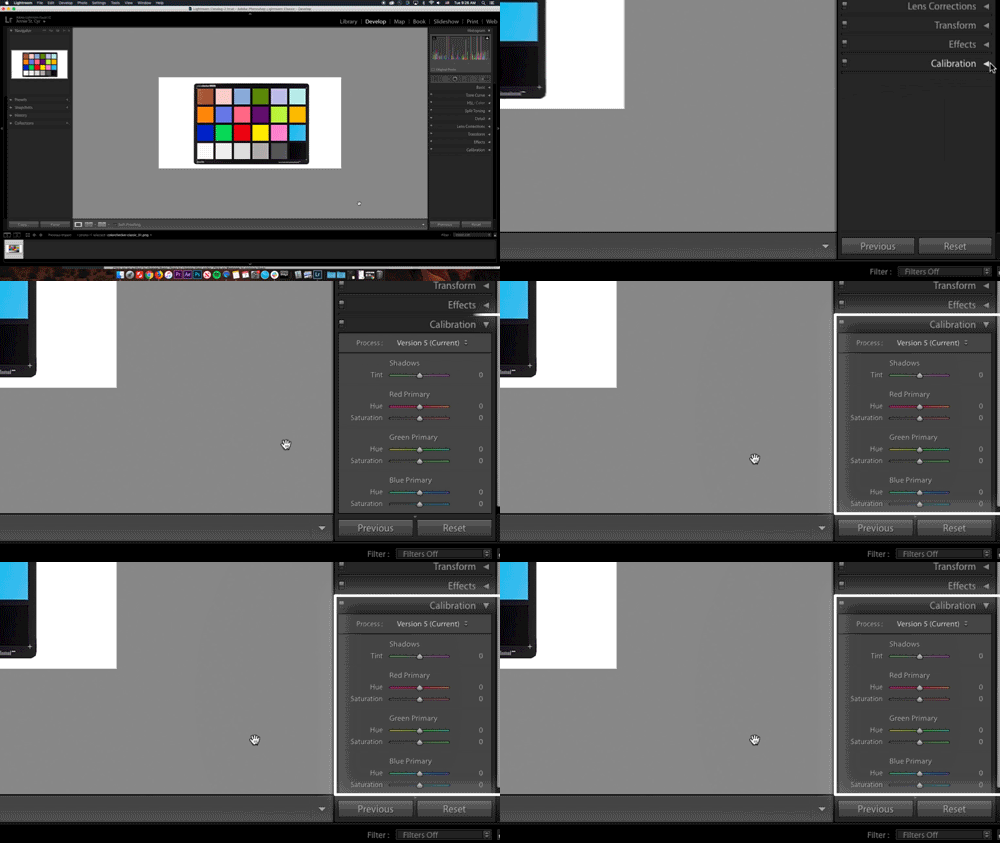
The tab you want to access is called Calibration. Previously, I would always avoid clicking on it, thinking it was some weird technical tool that never did anything. Then, one day, I just went for it and started moving all the sliders. That was when that I realized the power of this tool.
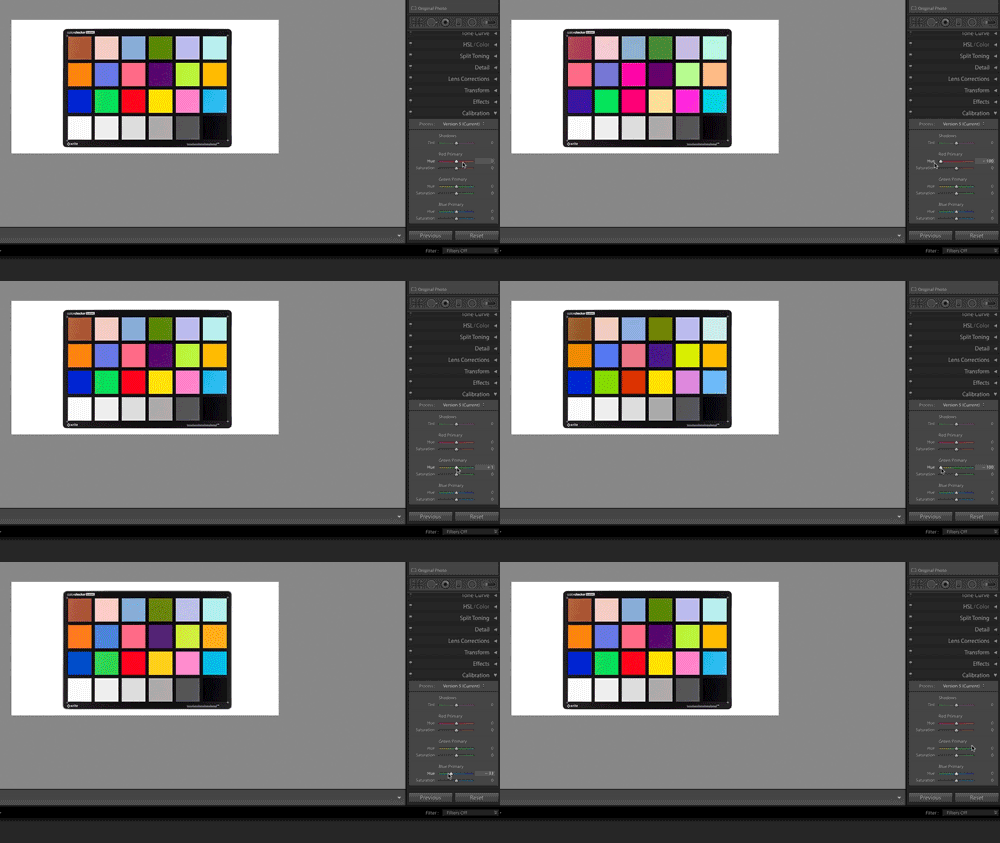
Hue Slider
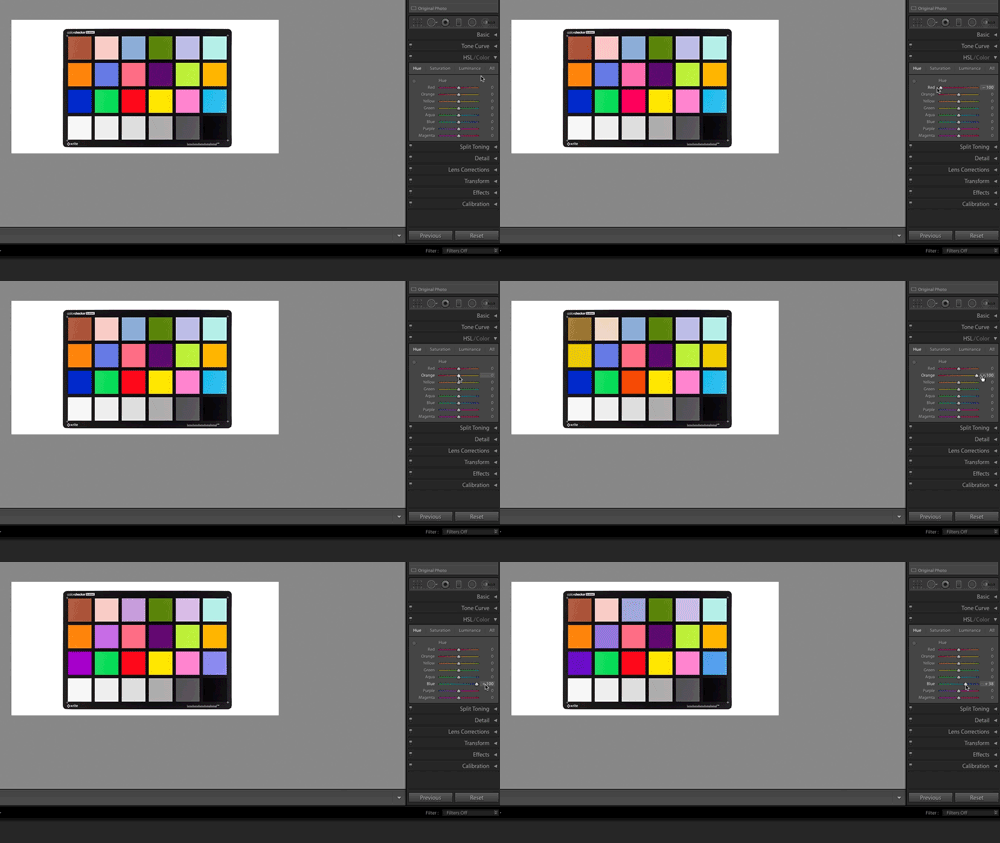
When you move the Hue slider for the RGB primaries, it affects the whole picture. In the HSL tab, if you modify the red slider, only colors that the program considers red will change. The shadow tint is self explanatory, but just in case: it corrects the tint shadows usually found in photographs. So, when you’re in the Calibration tab changing all the parameters, you’ll find out quickly that overdoing it can easily ruin your image. But take all these tips with a grain of sand because there is no one preset that fits every photo. Every picture is different, so the editing around it will need to be as well.
Think of this tool as a painter’s palette; the Calibration tool allows you to mix all the colors. You get access to many individual color swatches (for all the colors) just by moving the RGB sliders. If you get the mixing just right, you’ll have a masterpiece. However, if you overdo it, the outcome is unappealing.
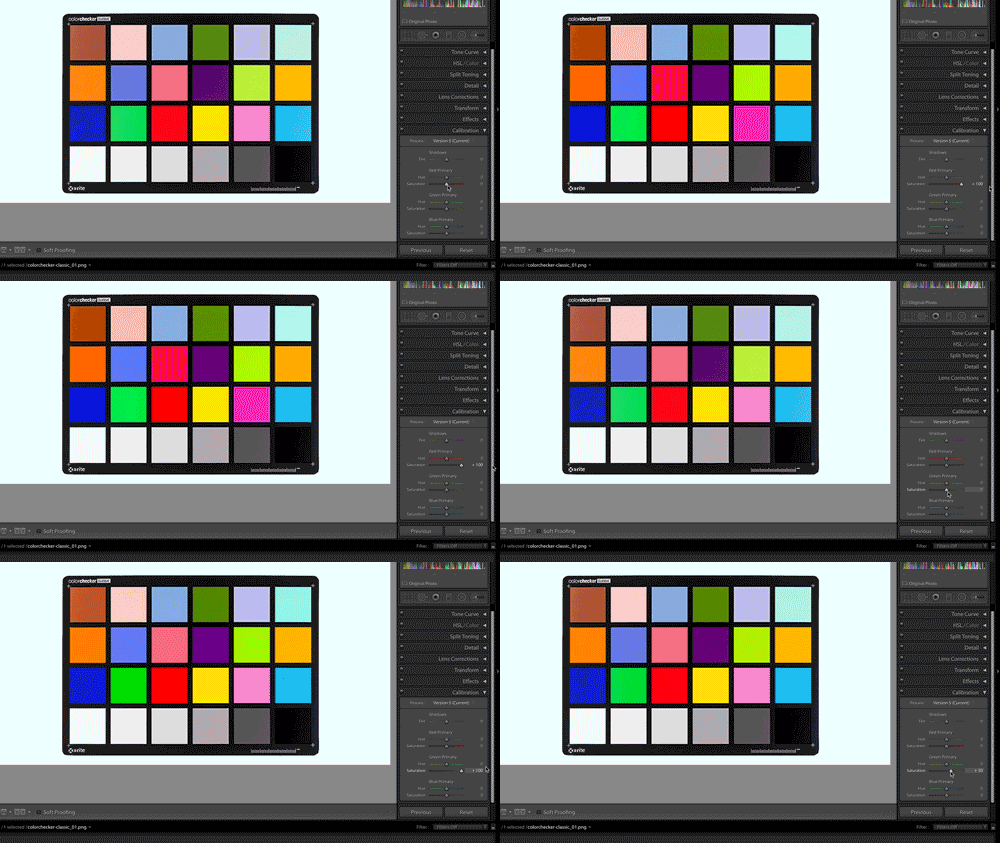
Saturation Slider
The next part of the Calibration tab is the Saturation slider. Once you find the right tone, you can use the Saturation slider to determine how saturated you want the colors.
My recommendation is to use the Calibration tool in conjunction with the HSL slider. Like I said, it won’t always improve every picture, but it doesn’t hurt to try. Here is a quick overview: Use the Calibration tool to get nice tones for your landscapes, portraits, or whatever you’re shooting, and use it with the HSL tool to get nice earthy tones or bright pops of color.
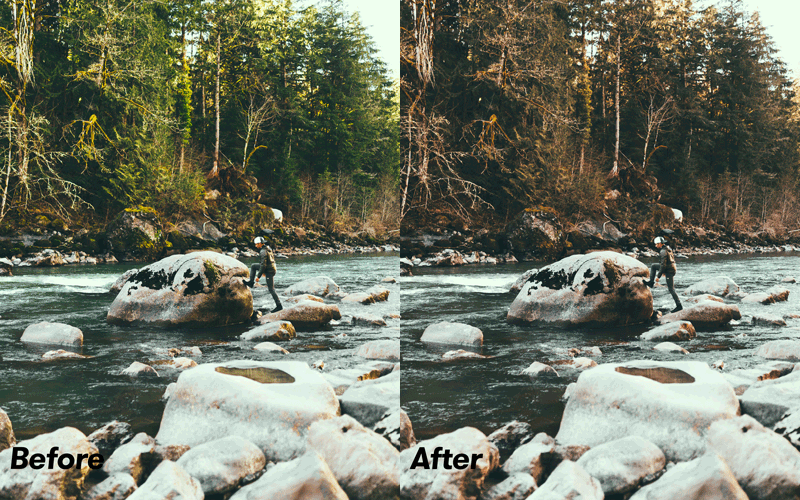
When you feel like you’ve completed your final edit, step away from the screen to let your eyes reset. When you come back, you’ll know if you’ve done the color grade perfectly, or if it’s too much.
Looking for more photography tips and tricks? Check out these articles.
- 5 Things to Consider Before Your Next Photography Trip
- 11 YouTube Channels Every Photographer Should Follow
- Tutorial: How to Get the ’80s Aesthetic in Your Photos
- Improving Your Photography: The Path from Amateur to Pro
- Trying Out Large Format Photography with the Intrepid 4X5 Mk 3 Camera


