
Looking to expand your DaVinci Resolve editing skills? Take a look at these five not-so-obvious tips to add to your arsenal of skills.
Okay, so, these features aren’t hidden by definition. They’re not hacks or something that works under the system. They are just tips and techniques that I think often go amiss by new editors on the DaVinci Resolve platform. Or, perhaps you’ve been on the software for a while now and rarely venture through the menus. You can do so much more in the software with shortcuts and tools accessible on the main UI. With that, let’s see if I can give you at least one thing you haven’t come across before in the tutorial below.
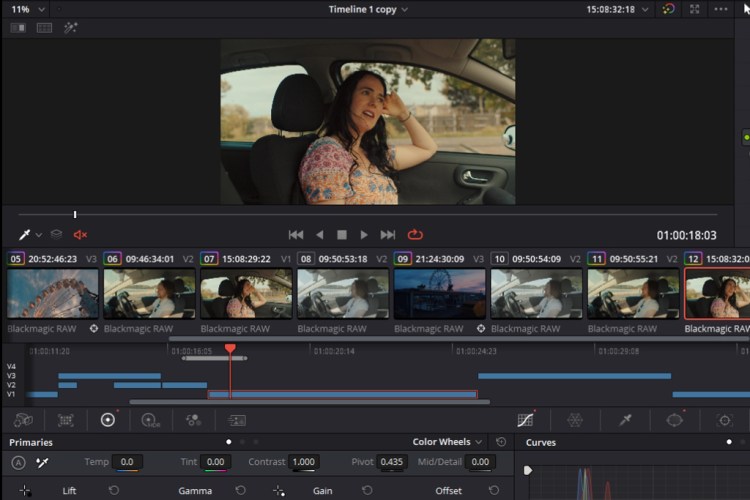
While you can find the video transcript below, I recommend watching the video tutorial to see exactly how the tips work.
1. Ripple Timeline Markers
I’m always using markers. I tend to use them a lot when I’m editing tutorials and want to mark the specific area where I need to input graphics.

However, let’s say I ripple delete a section of the soundtrack and voiceover, but still need the marker to remain in place over the video. When I ripple delete the audio, the marker also moves back, but because the video has stayed where it is because autoselect on the video tracks was turned off, my marker is telling me I need to add my animation to the wrong point.
To stop the marker from moving backward, you simply go to the Timeline menu and select Ripple Timeline Markers. Now, when we ripple delete something from the timeline—or ripple edit, which pushes clips forward—the marker stays where it is.

Of course, you need to remember that this is turned off when you start making ripple edits that affect all tracks and want that marker to move.
There are numerous ways to navigate the timeline. We, of course, have the on-screen buttons to zoom in and out, along with the respective keyboard shortcuts that do the same thing. If we use the scroll button on the mouse, we can move up the list of tracks. And, if we hold control, we move horizontally through the timeline. Holding Alt while using the scroll wheel will zoom in or out of the timeline.

However, did you know there’s also a fourth scroll wheel function, and that when you click it and hold the scroll or middle mouse button, it turns into a grab hand tool? This allows you to quickly move through the entire timeline a lot faster than any other method (see the video for how fast).
Additionally, depending on what area of the timeline you’re on when you press the middle mouse button, it also allows you to scale up or down the tracks. Click it in the video section to move up and down the video tracks. Or, click it in audio section to move up and down the audio tracks. Of course, this only really works if you have multiple tracks, but this method of moving horizontally is still much faster than the default methods.
3. Looping Range on Color Page
While I’m a certified Resolve editor first and foremost and love to share editing tips, let’s just quickly jump to the color page for a hidden tip that Resolve updated not so long ago.
We know that when grading, you can press the repeat button and it’ll loop the clip you’re working on. This is nice when you have a short clip and want to stop it from immediately proceeding to the next.
However, what if you want to see how the graded clip looks in context to the next clip, but still want it to revert to the start position? Or, perhaps you only want a particular area of a single clip to loop?
Open the Timeline tab on the Color Page and (like on the edit page), you can create an in and out point (I & O). Then, when pressing Play, the area under the timeline selection area will become loopable, if the loop action is active.
4. Data Burn-in
Okay, if you’re a DaVinci Resolve veteran, or just an editing veteran in general, I’m going to assume this might be basic knowledge. If you’re new to Resolve (or new to editing), you might think: Oh, that’s cool. Not too sure when I’ll use that, but now I know!
Suppose you’re entering your film into a festival, or giving a preview to someone, and you don’t want the film to appear online. You might look to place a watermark or preview title across the entire film. Or, perhaps for review purposes, you want to add a timecode to the file.
Well, don’t bother adding a title across the entire timeline because that’s going to be messy and likely cause havoc on your timeline. Instead, go up to the Workspace menu, and select Data Burn-in.

This pop-up menu will appear. By using it we can add a variety of different data to the video clip—from the source name of each file to custom text. Additionally, we can also adjust the majority of font properties—from opacity to color.
This won’t add a layer or anything of the sort. Therefore, it’ll keep your timeline nice and clean until you’re ready to get back to editing. To turn the data burn-in information off, you just return to the burn-in menu pop-up and deselect what you added.
5. Create Selection Based on Clip Duration
So, we know that if we create a selection on the timeline, by creating in and out points (I & O), we can then ripple delete (or delete with backspace) the entirety of all clips within the selection that has autoselect on.
However, sometimes going through the rigmarole of setting in and out points can be two clicks too many, especially if the selection you want to delete all falls under one clip. In the clip in the video tutorial, I want to ripple delete everything under this clip—the clip itself, the title, and the sound effects.

Instead of creating in and out points, we can just select the clip and hit SHIFT A. This will make a selection specifically to the length of the clip. It saves you from messing around with the playhead.
If you’re new to editing in DaVinci Resolve and are looking for more quick tips, we have a playbook series specifically designed for just that. Here’s Episode One to get you started.
For additional editing tips and techniques, check out these articles:
- 5 Essential Tips and Tools for Editing in DaVinci Resolve
- 5 Inexpensive Photo Editing Apps You Should Be Using
- Editing in TikTok vs Instagram Reels – Which is Worth Your Time?
- The DaVinci Resolve Editing Playbook Tutorial: Episode 2
- The DaVinci Resolve Editing Playbook Tutorial: Episode 3
Cover image by Mikhail Leonov.


